
My Homelab Journey, Part 1: Buying the stuff
When I decided to build a homelab, my primary goal was clear: efficiency. Since this machine would be running 24/7, I wanted something with a low idle power draw but enough juice to handle virtualization without breaking a sweat.
The Choice: Dell Optiplex 3060 Micro
After hours of research, I settled on a refurbished Optiplex 3060 Micro barebone. It's tiny, power-efficient, and surprisingly capable for its size.
The Core Components
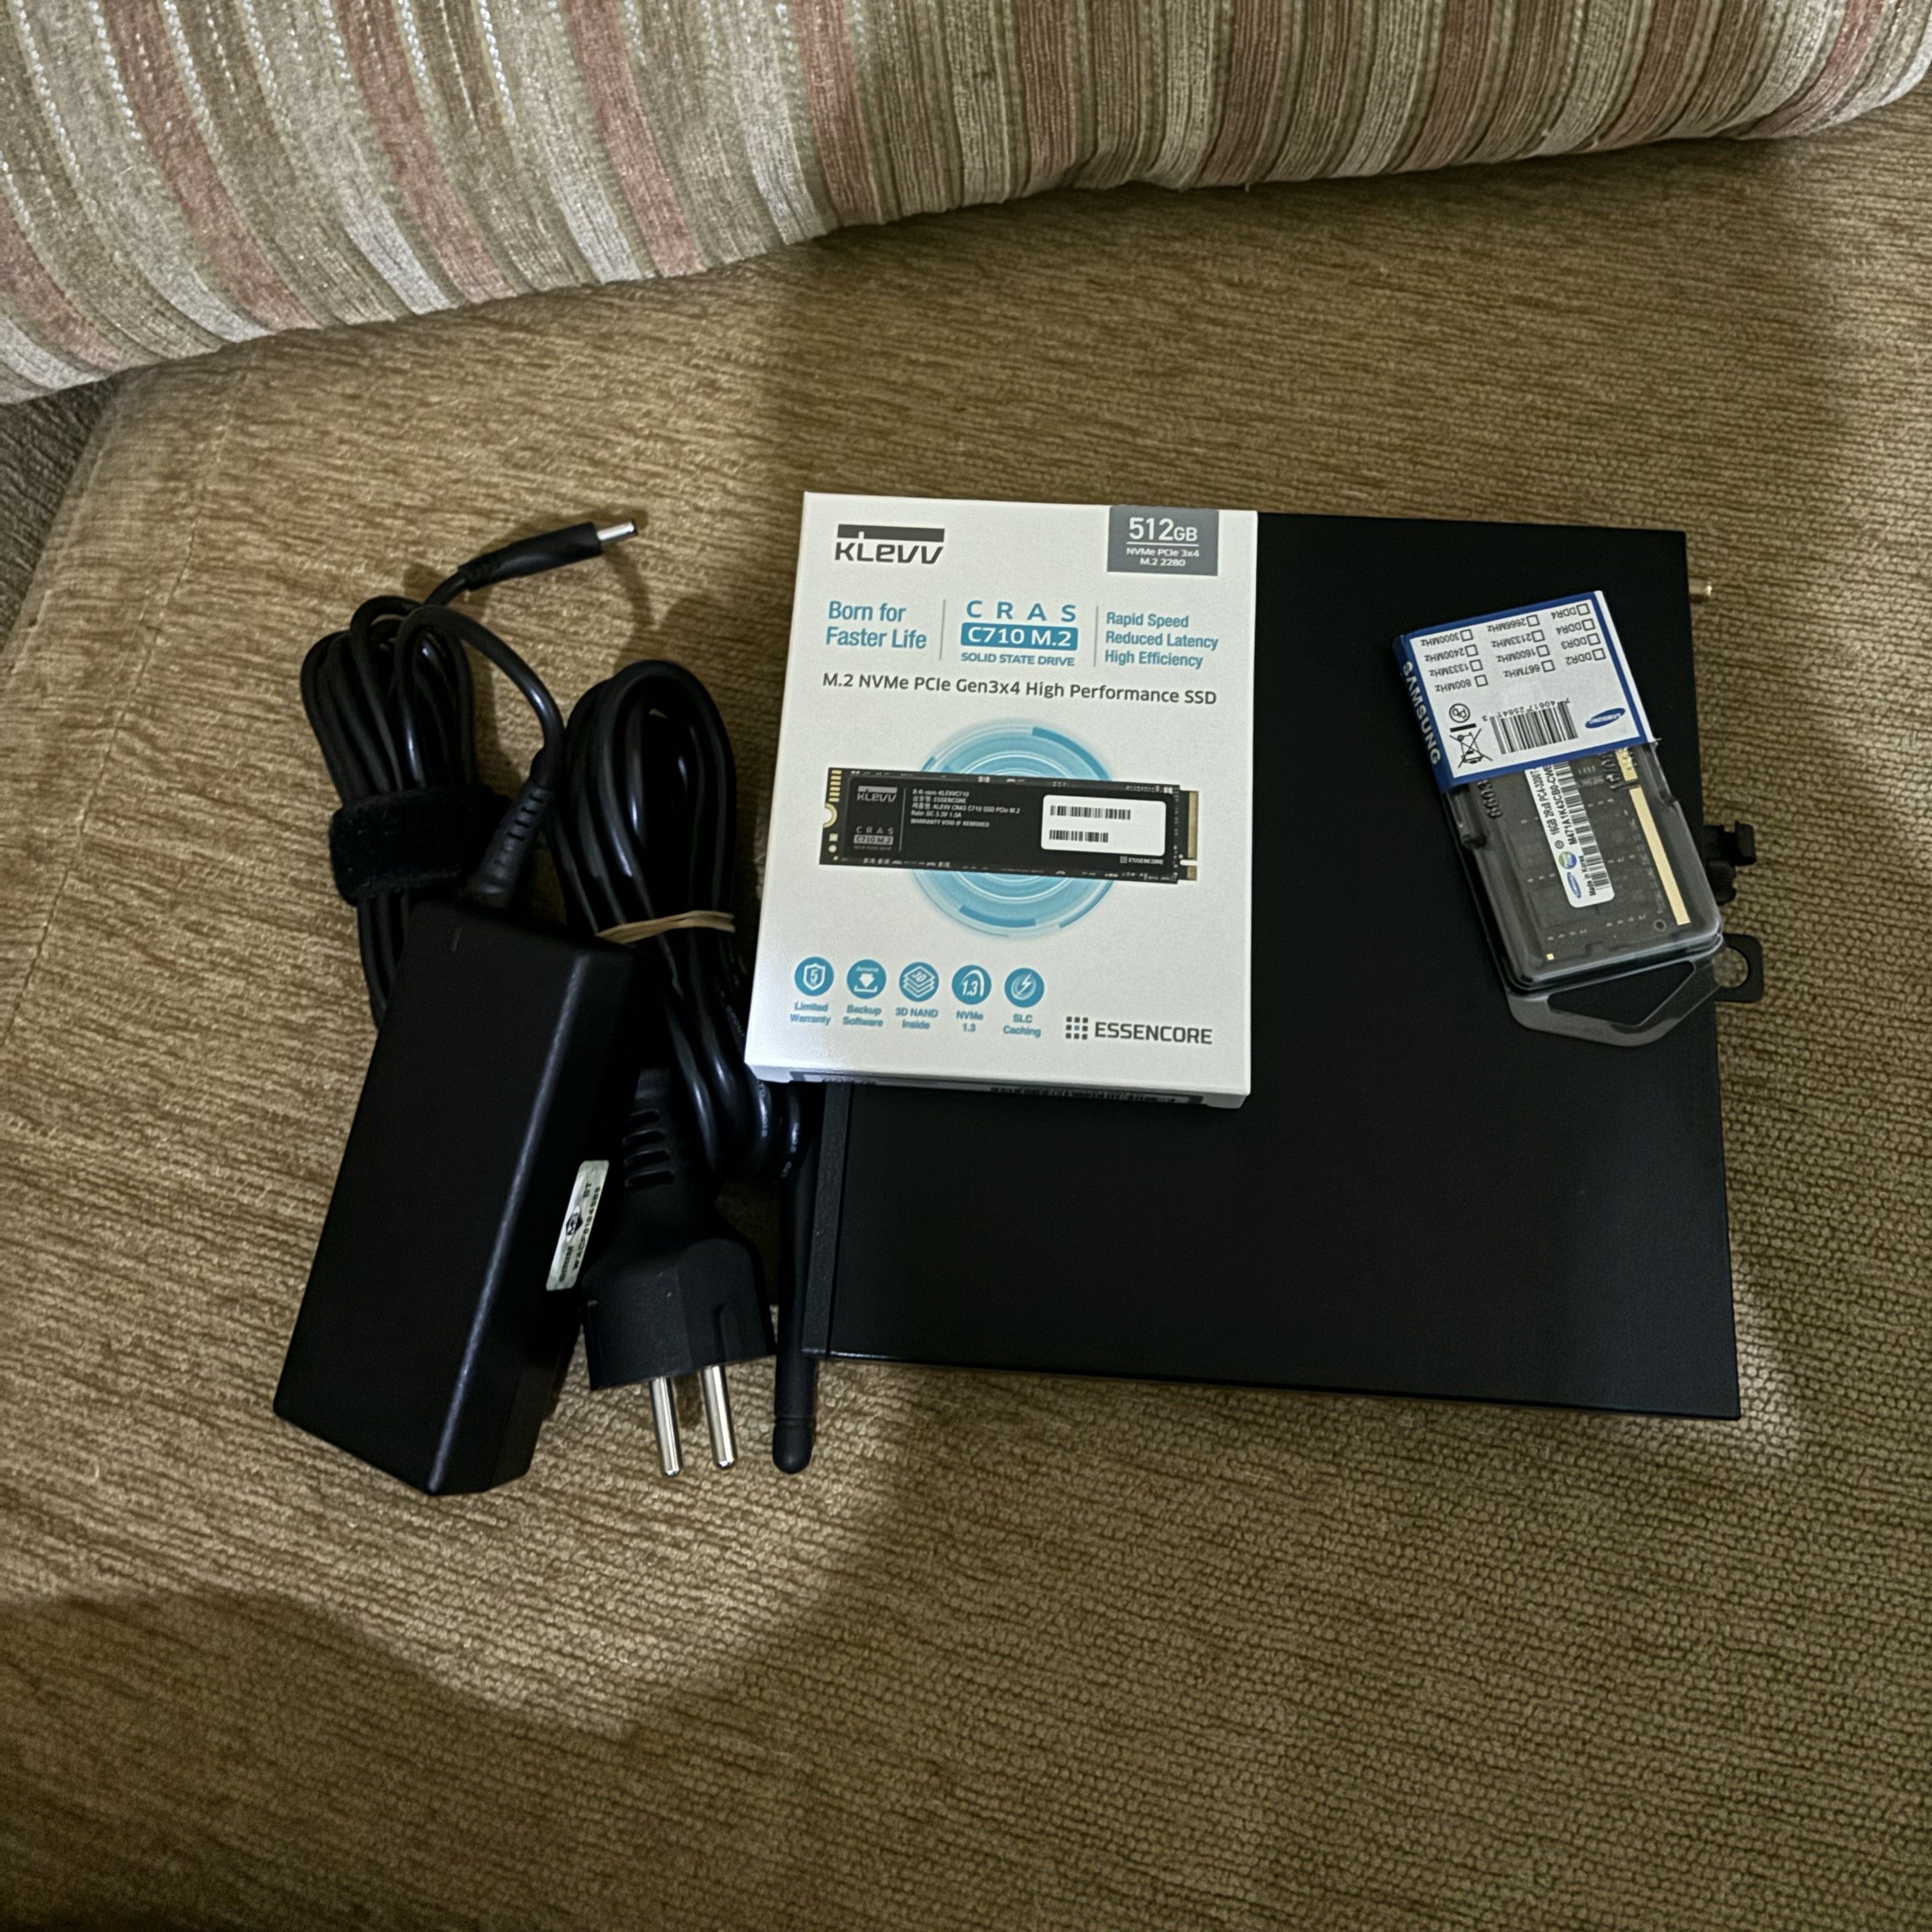
For the CPU, I went with an Intel Core i5-8600. With 6 cores and 6 threads, it provides a great balance for multiple VMs and containers while staying within a reasonable power envelope.
Memory is crucial for virtualization. The 3060 Micro has two slots, but to keep initial costs down while allowing for future expansion, I bought a single 16GB DDR4 SODIMM. This leaves one slot free for an easy upgrade to 32GB later.
For storage, I needed something reliable and fast for the boot drive and VM disks. I chose the Klevv CRAS C710 512GB NVMe SSD. It's a solid budget-friendly option that delivers the speed needed for snappy performance.
Assembly and Initial Setup
Assembling everything was quite easy. These Micro PCs are designed for easy maintenance; sliding the cover off and popping in the RAM and NVMe took less than five minutes.
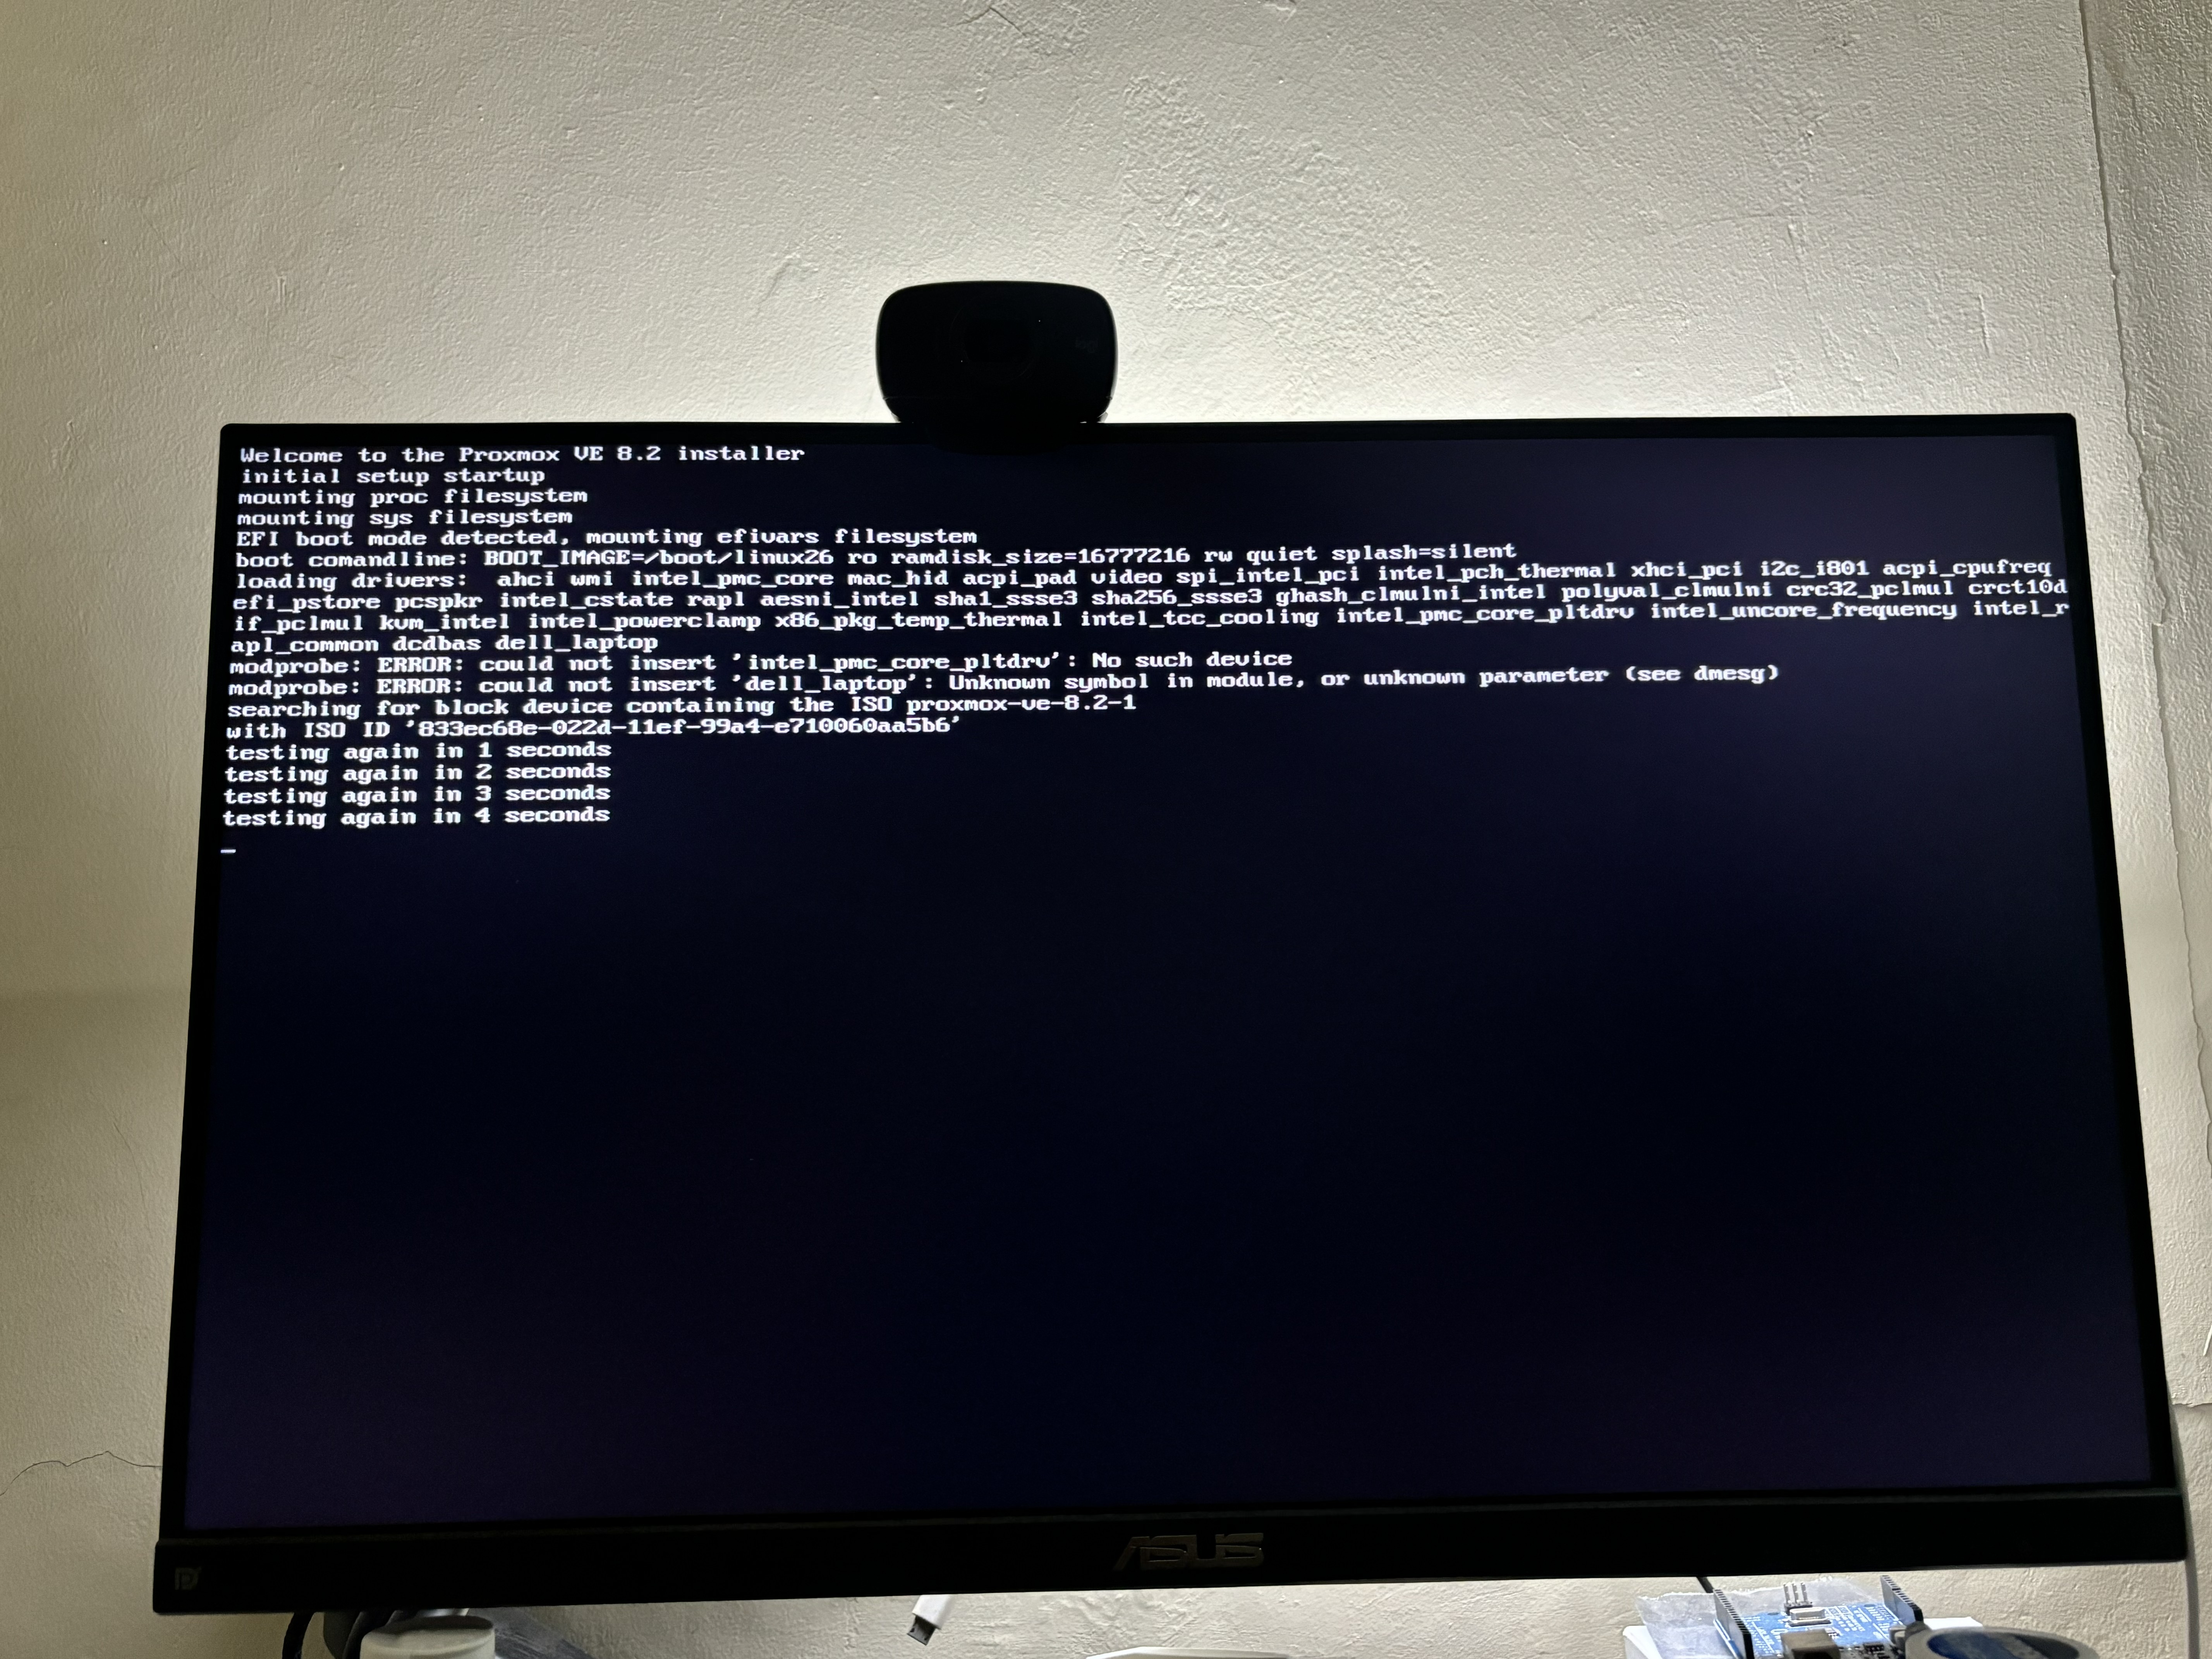
Before diving into the OS, I immediately performed a firmware/BIOS upgradeto ensure the latest security patches and stability improvements were in place. Finally, I installed Proxmox VE, the backbone of my virtualized environment.
In the next part, I'll talk about the first few LXC containers and VMs I deployed on this little beast.